


before we begin
Along with what feels like every other semi, I taught myself how to make sourdough bread during the spring of 2020 when Covid left me in the confines of my home, or really my kitchen. I started with youtube videos recommended by a fellow friend/baker, followed by blog posts and online recipes I found internet sleuthing. By far the most helpful resource I’ve come across is Bryan Ford’s New World Sourdough Cookbook. Making his recipes is when I really began to up my sourdough game. The classic sourdough recipe I use today (and included in this newsletter) is adapted from his Pan Rustico recipe that I have made dozens and dozens of times. It’s a great cookbook to invest in as a resource for technique and inspiration for future sourdough recipes.


do me a favor
and read through this entire recipe to ensure you have all of the ingredients and equipment needed. This initial read-through will also help you to understand the timing and pacing of the recipe. I love to make my dough on Mondays and by Tuesday midday, I have a couple of fresh loaves to get me through the week.
If you’ve never baked bread before, it’s likely your first loaf is not going to be perfect so don’t expect it to do be. I don’t say this to discourage you, but to take the pressure off. It takes time to get comfortable working with the dough, begin to recognize the subtle differences between bakes, and understand all of the nuances that lead to these differences. This recipe is the (current) final product of my constant tweaks to get the best result I can based on the environment I’m working in. You will make your own adjustments too as you learn what works best for you in your specific environment, playing with different types of flour and utilizing different shaping techniques. Part of the fun of making sourdough is all of this experimentation.
and remember…
even if you end up with the flattest, saddest loaf you’ve ever seen… it will still taste delicious which is kind of the beauty of all of this. you end up with fresh baked bread no matter what! So without further ado…
my favorite classic sourdough
what you need
For the Levain:
50 g mature (unfed) sourdough starter (I like to take my starter out the night before, leave on the counter overnight, and use the next morning)
50 g bread flour
50 g whole wheat flour
100 g warm water
For the Dough:
600 g bread flour
100 g whole wheat flour
300 g AP flour
200 g levain
750 g warm water, divided
20 g kosher salt
Rice flour, for dusting the bannetons
For the equipment:
food scale
bowl scraper
two bread proofing baskets (oval or round)
bread lame or very sharp knife
cast iron dutch oven
Equipment recommendations.
extended cut recipe and timeline
You’ll need a sourdough starter for this recipe. If you don’t already have one made, or purchased or gifted from a friend, I recommend King Arthur Flour’s recipe to make it from scratch (I promise it’s not as scary as you think.) I think making it yourself gets you invested and excited about the bread making process at large, too!
The night before you plan to make your dough, take out your starter from the fridge and leave it out overnight.
Make the levain (~7 am)
As soon as you wake up, make your levain. The levain is essentially the freshly fed portion of your starter that you will use almost entirely in the final dough mixture. To make the levain, mix together your mature starter, bread flour, whole wheat flour, and water quantities listed above in the ‘for the levain’ section. Cover loosely and leave in a warm place until it is bubbly and doubled in size, around 5-6 hours. I like to leave mine on the stove with the stove light on and would avoid drafty countertops near windows.
*A note on feeding my starter and sourdough discard*
I find that just after mixing my levain is the perfect time to feed the remaining portion of my sourdough starter. This is how people talk about having a decades old starter! They use a portion for bread and feed a portion for next time… and so on and on and on…
I feed my starter by weighing ~75 g of the unfed starter and adding 75 g each of all purpose flour and water. The exact quantities don’t really matter, your just mixing equal parts starter, flour and water. Once doubled in size, I place back in the fridge until the next time I bake.
Any remaining unfed starter becomes ‘sourdough discard.’ I like to keep a jar of sourdough discard in the fridge that I add my leftover, unfed ‘discard’ starter to each week. You can use it for sooooo many delicious ‘sourdough discard’ recipes that call for unfed starter and, therefore, are quite low effort. You don’t have to keep the discard, but if you hate throwing stuff away that could be used then keep it and cook with it.
Make the initial dough mix (~12:30 pm)
About 30 mins before your levain is ready to use (about 5-5.5 hours after mixing), mix bread flour, whole wheat flour, and AP flour (from the ‘for the dough’ section) with 730 g of warm water in a large bowl.
Use your hands to ‘squeeze’ the water into the flour and try not to tear/rip the dough as it comes together. Be patient as it will take some time for the flour to fully absorb the water. You can use a bowl scraper to scrape down the sides of the bowl from time to time. When no dry flour remains, cover with a clean dish towel and let rest for 1 hour. This step is called the ‘autolyse’ and allows the flour to fully hydrate and absorb the water, allowing the gluten proteins in the flour to begin to develop the gluten ‘network.’ This step, legit just letting your dough sit and do it’s thing, results in a stronger, smoother dough. You’ll see that after just 30 mins, the dough will be much stretchier and you’ll be able to gently pull on it without it tearing immediately.
Add the levain (~1 pm)
By this time, 6 hours post mix, your levain should be doubled in size and ready to use. Add 200 g of the levain to your dough mixture and repeat the squeezing technique. It might feel odd to try to incorporate the wet levain into your drier dough mixture, but be patient and continue to knead until the levain is fully incorporated. This can take up to 10 mins and be sure there aren’t any pockets of loose/wet levain hidden in your dough before moving on. Once fully incorporated, cover and let your dough rest again for 30 mins.
Make the final dough mix (~1:30 pm)
Add in salt and remaining 20 g of warm water. Repeat squeezing and kneading until the water and salt are fully incorporated. At first it may seem that this is too much water and your dough has become too wet. Stick with it and continue kneading as the water will eventually become absorbed and you will be left with a smooth dough. Cover and let rest for 30 mins.
Coil folds (~2 pm)
We’ve made our dough! Yay! We’ll now build strength by performing a series of coil folds. There’s a variety of different folding techniques, so feel free to experiment with what you may have seen elsewhere. I find that coil folds work the best for me. Here’s a great tutorial to understand the technique. Make sure to wet your hands before to prevent the dough from sticking to them. Perform the folds, then cover and let the dough rest for 45 mins. Repeat 2 more times for a total of 3 coil folds. In other words:
Perform 1st coil fold, cover and rest for 45 mins
Perform 2nd coil fold, cover and rest for 45 mins
Perform 3rd coil fold, cover and rest for 4 hours
This period of time is known as the ‘bulk fermentation’ and helps your dough continue to build strength so it can properly rise in the oven and develop a lovely open crumb structure. It also helps develop flavor as the yeast breaks down the sugars in the flour, producing acids that contribute to that quintessential ‘sour’ flavor of sourdough!
Pre-Shaping (~8 pm)
After the 4 hour bulk fermentation, dump your dough out onto a clean work surface. I do not use any flour in this step, but if you find it difficult to work with the dough, you can dust the counter lightly with flour. I typically make two loaves out of this recipe, though it also works quite well to make three smaller loaves. Use your bowl scraper to divide the dough into two or three equal portions, depending on how many loaves your making (and proofing baskets you have!)
You’ll now shape each dough portion into a ball. Use your bowl scraper to reach around the dough and gently yet firmly pull the dough towards you, maintaining some tension against the counter, to begin to round the dough. See the below video for a visual demonstration. Perform this motion about a dozen times until an even ball has formed. Repeat on the second half and leave both loaves to rest, covered with a clean dish towel, on the counter for 30 mins. They will flatten out slightly, that’s ok!
Final- Shaping (~8:30 pm)
Prepare your proofing baskets by generously dusting both with rice flour. You can also use AP flour, but I find rice flour helps prevent the loaves from sticking much better because the dough doesn’t absorb the flour.
Dust the tops of both loaves with rice flour and then gently lift the first dough ball and flip, placing the floured side down in front of you. Lightly pat your dough to flatten slightly, then pull the right side out and fold it onto itself, repeating the same on the left. The motion is similar to folding a piece of paper in thirds. Starting from the top, tightly roll the dough towards you similar to the motion of rolling up a cinnamon roll. See the video below for a visual tutorial.
Carefully lift your rolled up dough and place in your prepared proofing basket, seam side up. Repeat with the other dough ball. Dust the top with rice flour, then cover the top with plastic wrap or the proofing basket liner and place in the fridge overnight. Using rattan proofing baskets works better than a regular bowl because it allows the exterior of the dough to dry out slightly, making for an extra crisp score and great crust.
The next day
When you are ready to bake the following morning or afternoon, preheat your oven to 500° F (or as hot as it will go) with your dutch oven or baking vessel inside. I like to let the oven preheat for a full hour with the baking vessel inside. When you’re ready to bake, remove dough from the fridge and flip out of the proofing basket onto a square of parchment paper that can be easily transferred into your dutch oven (I like to cut mine to size). The seam side of the dough will now be facing down against the parchment paper and the rounded side with be up. Brush off any loose or uneven residual flour to create a smooth, even coating of flour.
Score your dough using a lame or a very sharp knife. You can get creative with fancy designs or just cut a straight line down the middle. Scoring is not necessary, but remember your loaf will expand in the oven and naturally tear in spots to compensate. Scoring is our way of essentially guiding the sourdough of where to expand, allowing us to manipulate the dough and get creative with designs. Plus, it’s just sooooo satsifying to slice through the cold dough.
Remove the baking vessel from your oven, remove the lid and then carefully transfer your dough into the vessel by lifting the parchment paper. Carefully tuck two ice cubes under the parchment paper to create steam*, then quickly return the lid to your vessel and place in the oven. Cook, covered, for 20 mins, then remove the lid and cook for another 7-9 mins until golden brown (you can go lighter or darker depending on the appearance you are looking for). Remove from oven and allow loaf to cool for at least 30 mins before slicing. If you cut soon, you will likely find the inside seems underbaked and slightly gummy.
Return the empty baking vessel to the oven and allow to preheat again for 15 mins before repeating the baking process with your second loaf.
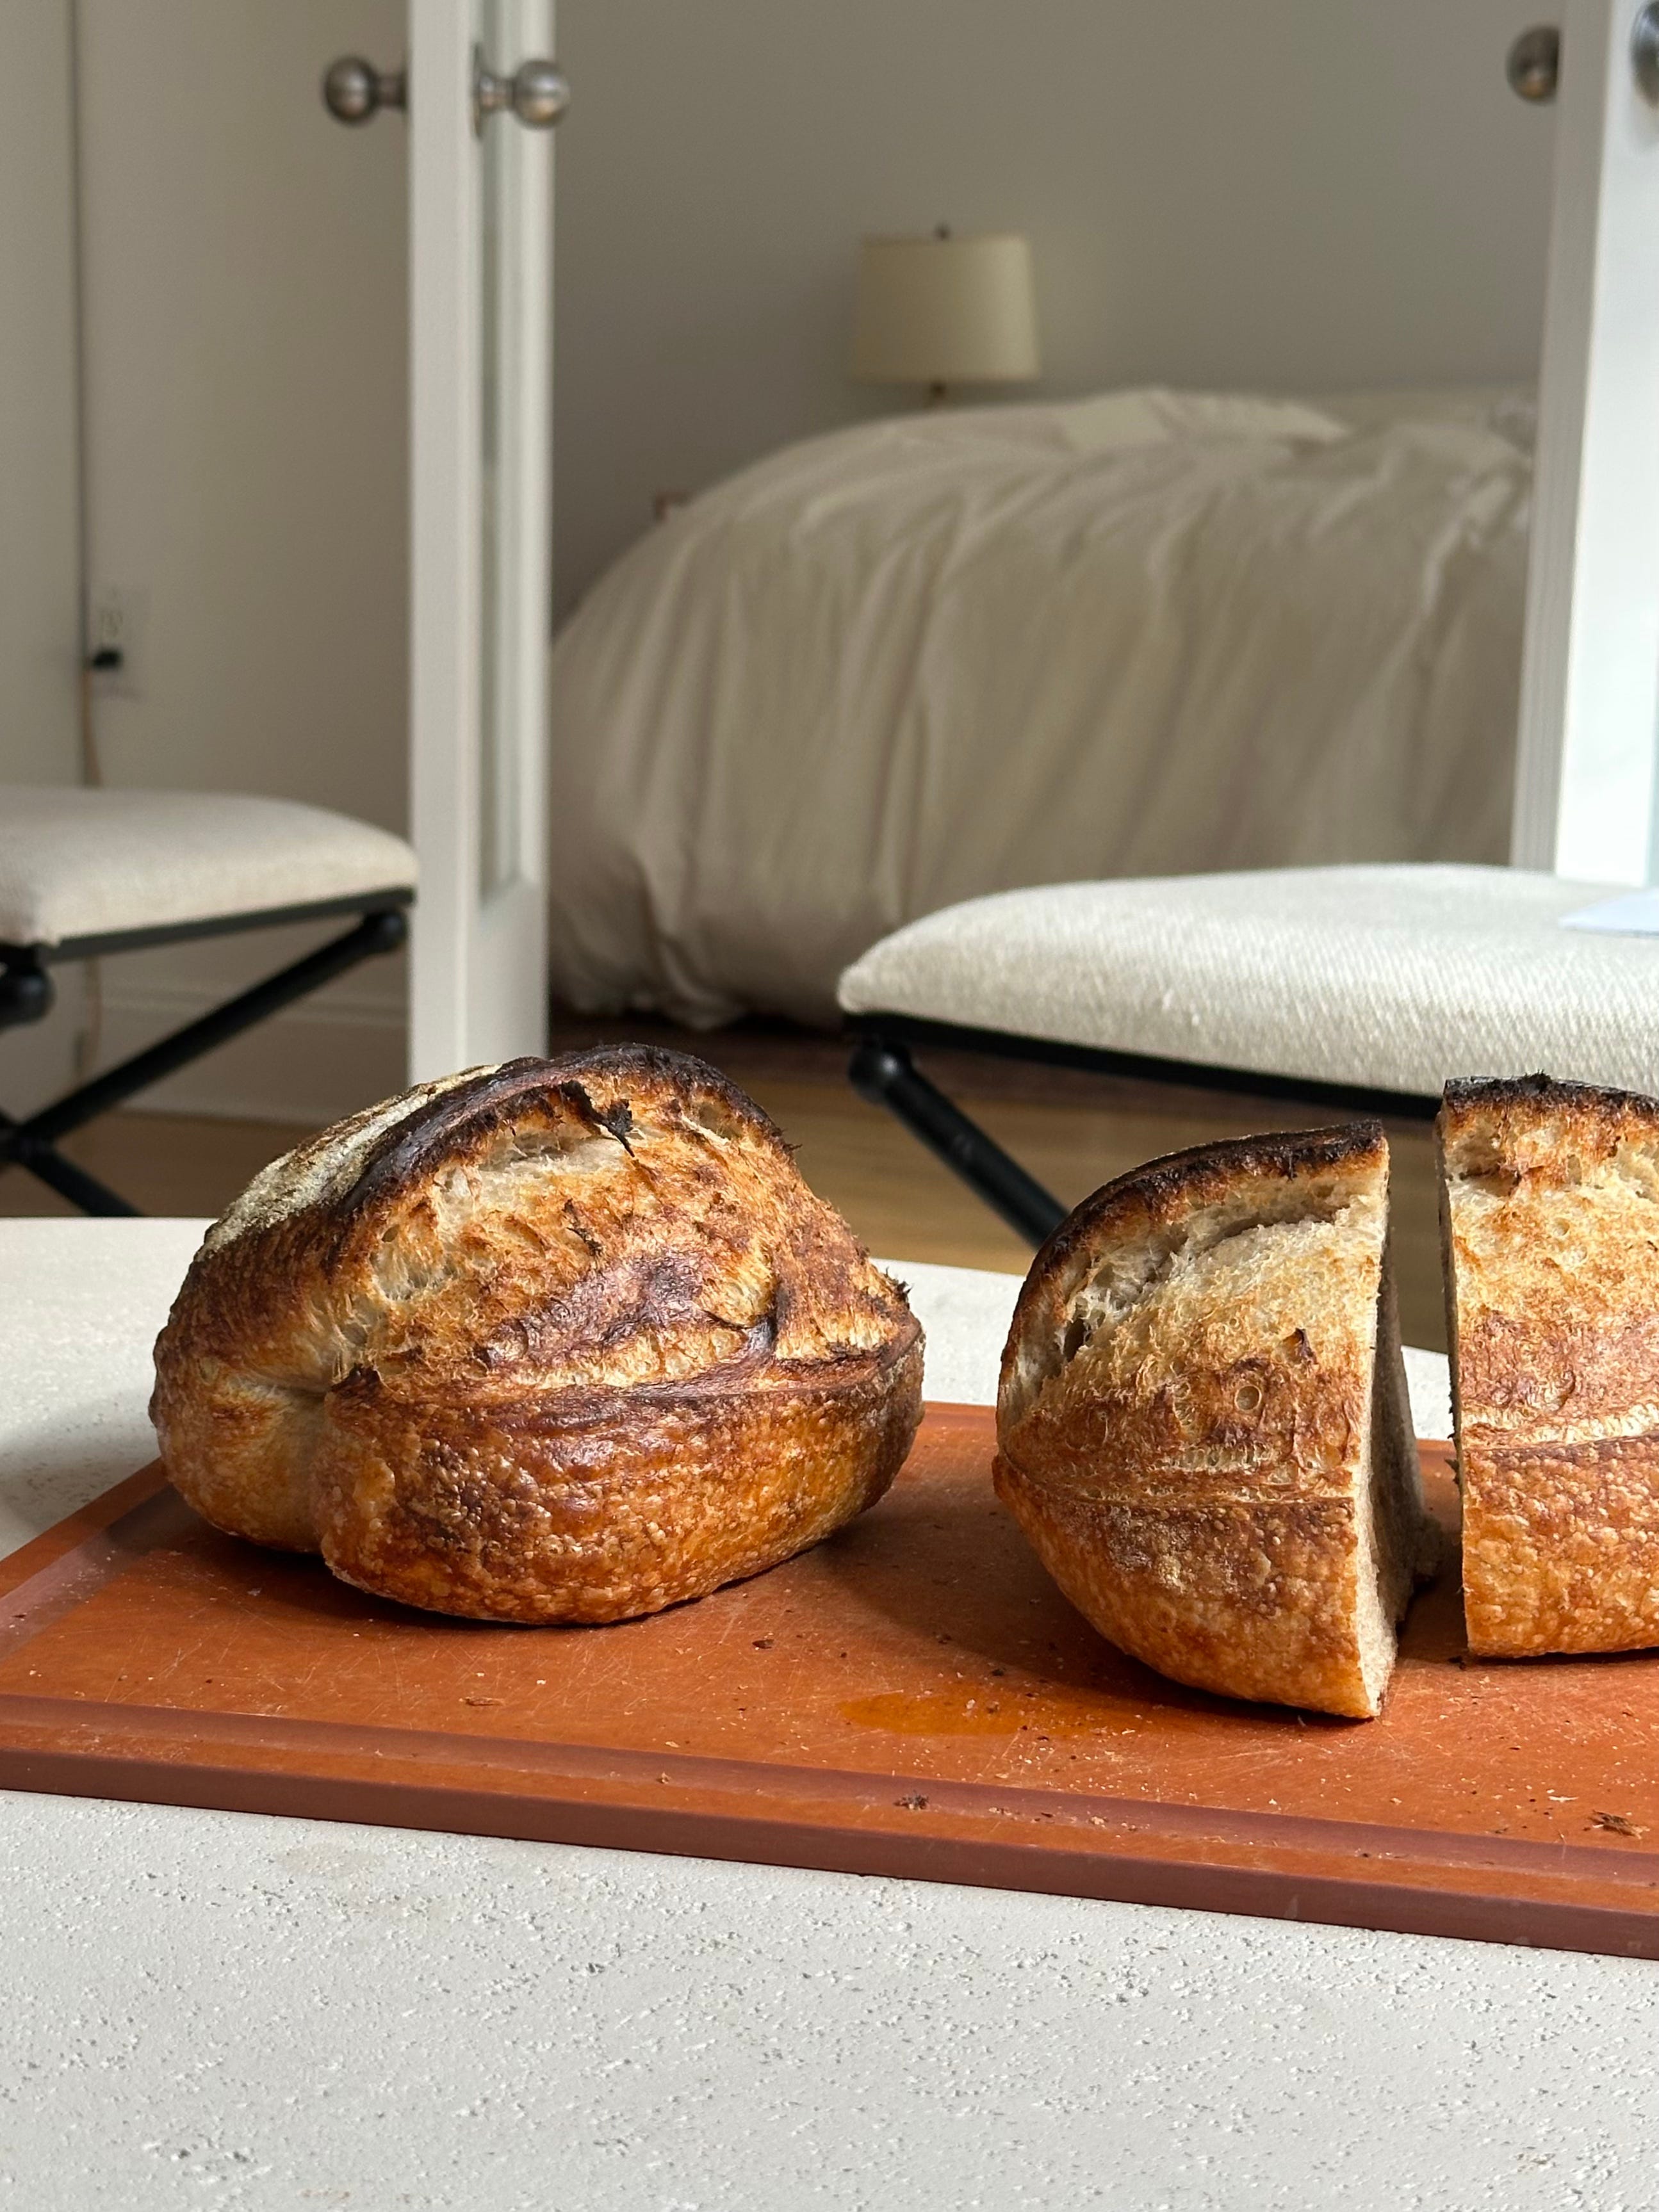
The very best bite of sourdough bread is fresh out of the oven, smeared with GOOD butter, and sprinkled with flaky malden salt :)
*some people have commented that adding ice to the hot dutch oven will cause it to crack. I’ve used this technique dozens of times and I’ve never had an issue.
storage
Store in plastic wrap or a plastic bag on the counter for up to 3 days. These loaves freeze beautifully. I usually eat one over the course of a few days (more likely a day or two) and freeze the second loaf. To freeze whole, wrap your loaf fully in aluminium foil and place in your freezer. When ready to defrost, preheat oven to 300° F and place loaf (keeping aluminium foil on) in oven for 1 hour. To freeze in slices, slice up your loaf and place in a plastic bag to keep in your freezer. It is best to slice and freeze on the day of baking for ultimate freshness. When you want to eat a slice, pop one in the toaster and toast until defrosted and golden brown. Fresh bread at all times!!!!
FRIENDS! that’s all for this week. It’s a lot to digest but I find knowing the WHY behind the recipe is incredibly helpful and empowering. Like hell yeah, I’m squeezing that water into that flour because I want to hydrate that dough and not tear apart that gluten structure. We out here KNOWLEDGABLE!!!!
Have a fantastic weekend and happy bread baking.
xx,
Maddy
Made it. Slayed it. Best thing I have done with 29 hours of my life. Thank you, Maddy!
I made my first sourdough loaf with this recipe, came out pretty good. Except I accidentally skipped an important step, adding salt :( . I'm using this again for my second loaf. Thanks Maddy. One thing I want to mention is that it's a little hard to follow this as a recipe with large blocks of text. Its easy to get lost or miss a step as I did the first time. Bullets within each subsection might make this more user friendly :)