ah, the dreaded thanksgiving turkey.
did your cortisol levels just spike reading the title? If yes, I get it. the overwhelming number of methods, recipes, and reels circling our social media feeds somehow only causes more decision paralysis and overstimulation. heck I went to culinary school, have spent the past year + cooking for a living, know exactly how I’ll be making the turkey this year, and *I* still feel this way.
this post is not a claim to have the best turkey recipe (spoiler, it’s not even my recipe) and not a plea to make your turkey *my way.* It’s simply a recap of what I did last year, why I liked it, and why I’ll be doing the exact same thing this year. It’s part recipe, part method, and part analysis, so please take as much or as little as you’d like.
now, in the spirit of having a stress free reading experience, settle in, grab your cup of coffee or tea or wine, put on a playlist, and let’s go.
BUT WAIT: have you ordered your bird?
if yes, scroll on. if no, then let’s tackle this! for the second year in a row, I’ll be spending Thanksgiving with my boyfriend’s family in Washington, D.C. Though I’ll be taking the lead on cooking the bird, Jack’s dad will be securing the turkey. His family lives quite close to a fantastic Georgetown butcher shop where we’ll be ordering from. I recommend ordering from your local butcher shop for a few reasons:
Convenience: the turkey will likely be fresh (ideally) or defrosted and ready to go, saving you the time and inconvenience of defrosting at home.
Quality: it’s likely your butcher shop is going to source fresher, higher quality, pasture raised, amish heirloom, etc etc birds compared to the frozen guy you’re picking up from stop & shop. Take a look at what your butcher shop offers and read up on what those options mean!
Local business: support them! There are few places I enjoy shopping more than a speciality store. If you buy most of your meat from the grocery store, use this as an opportunity to get acquainted with your local butcher shop and the people who work there. Becoming a regular a these types of places is part of why I love cheffing.
Order your turkey size based on the following rule of thumb: approximately 1 lb per person or 1.5 lb per person for leftovers (and if you’re not planning for next-day leftover sandwiches, you’re doing it wrong).
DAY BEFORE: how I’m prepping my bird
Wet vs. dry brine
I’ve done both and am team dry brine all the way. J. Kenji López-Alt agrees:
“I vastly prefer dry brining. A traditional brine will plump up your turkey with moisture, but that moisture is mainly water, leading to a turkey that tastes watered down. A dry brine, on the other hand, helps a turkey retain its natural moisture without adding any excess liquid, which leads to more intensely flavored results.” (all sources linked at the end of the newsletter).
Dry brines entail covering your bird with a salt based mixture and leaving in your fridge, uncovered, for 24-48 hours.
The salt initially draws moisture out of the protein, then dissolves into this moisture, and this moisture gets reabsorbed back into the bird. Woah. I find the science of it all fascinating. The result is a juicier, all around better-seasoned bird. And by leaving the turkey uncovered in the fridge, the skin dries out, helping to achieve that desired golden brown crispy skin.
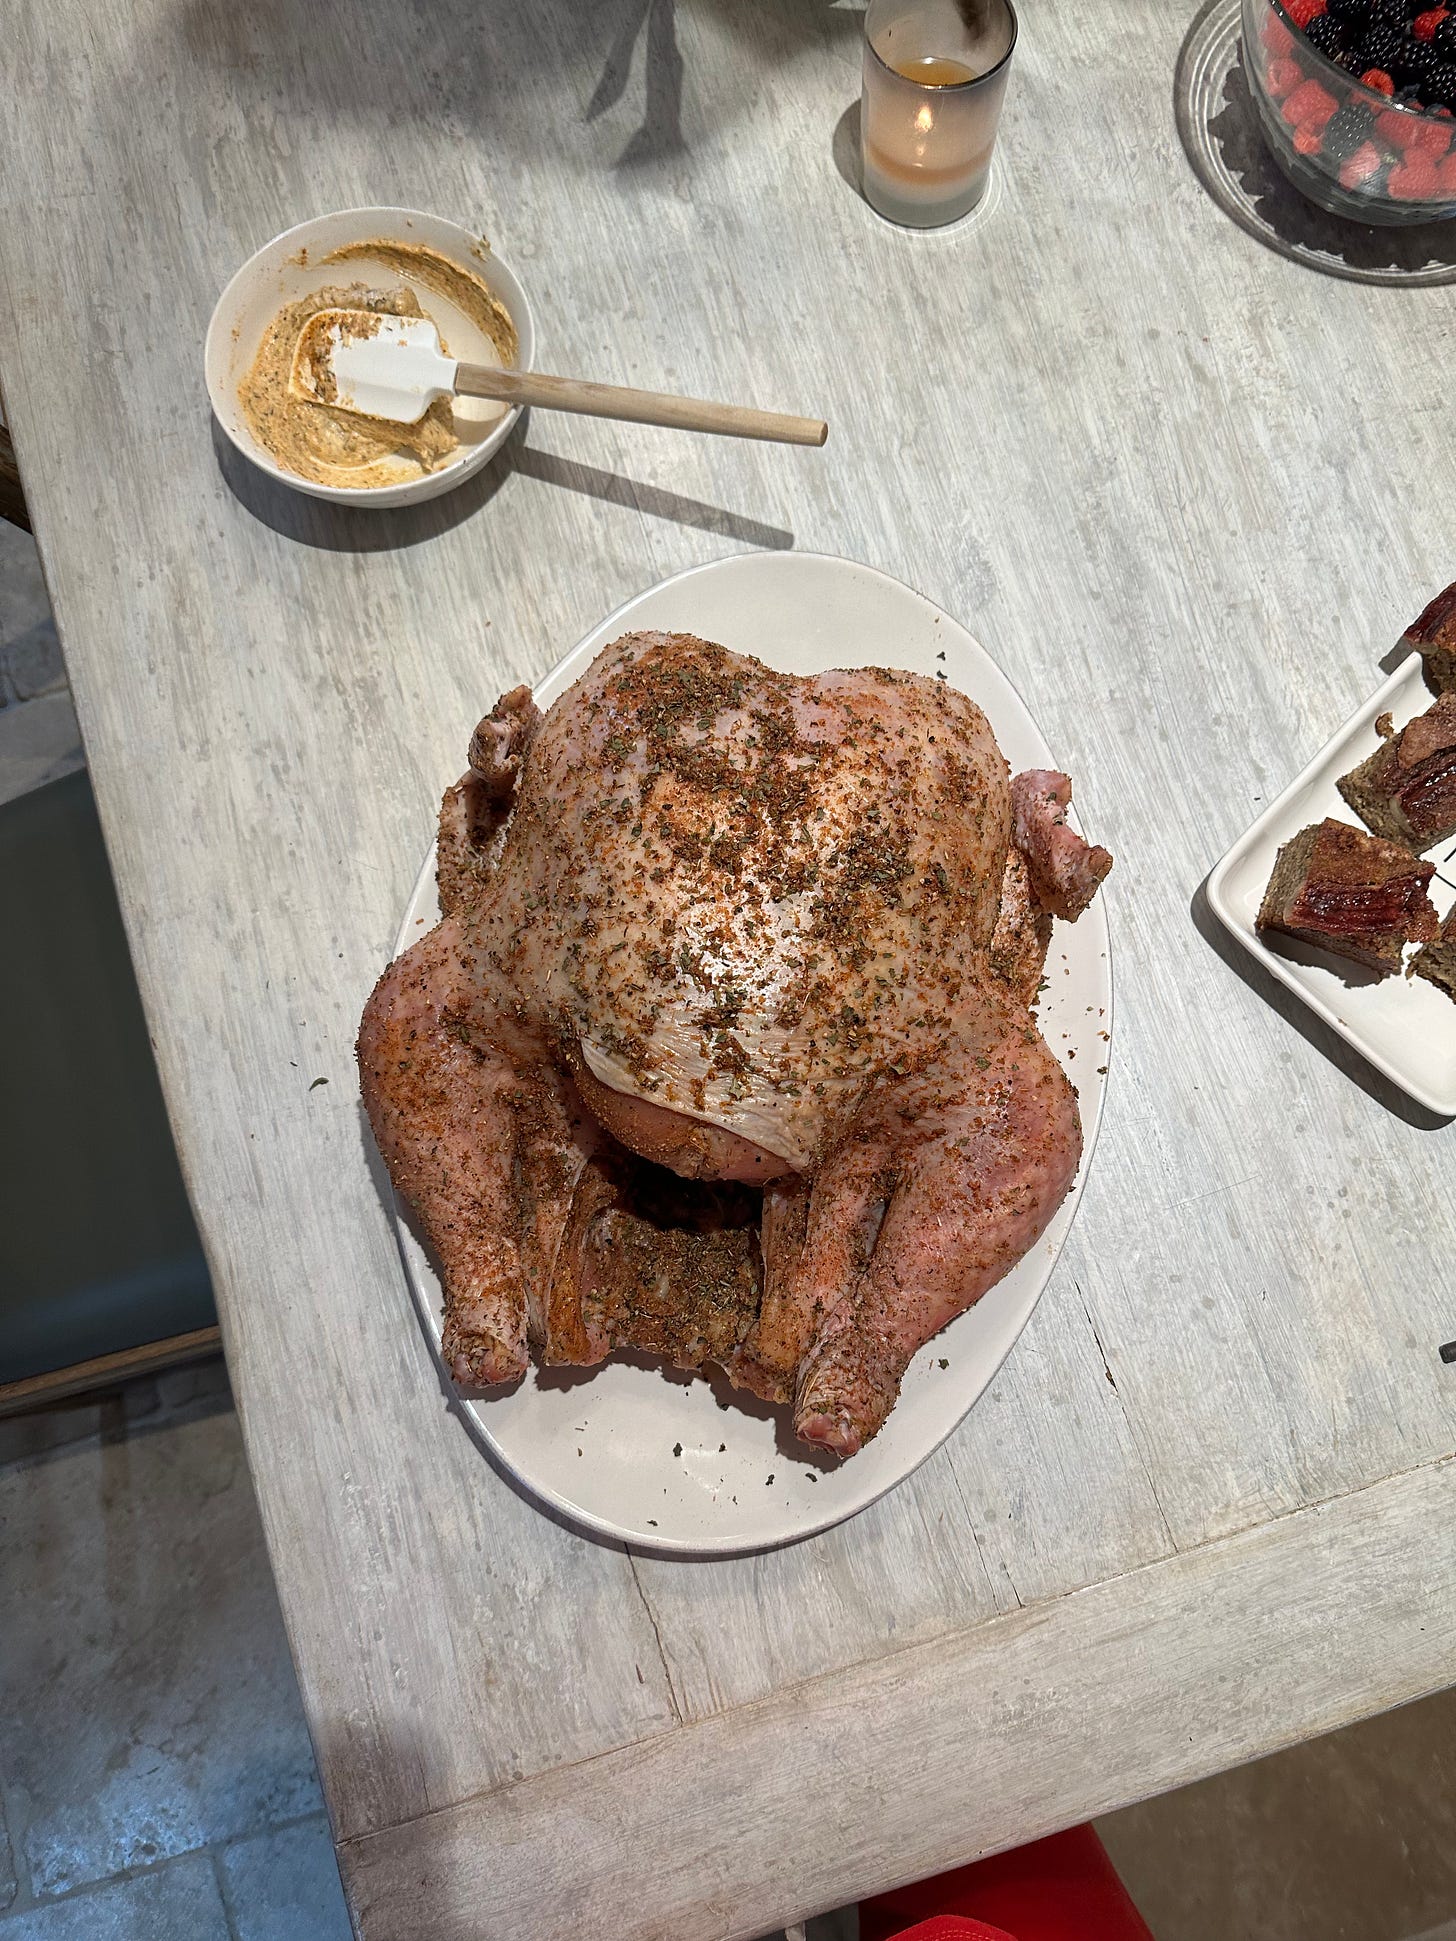
Last year I took it one step further and combined my dry brine with my spice rub. You can use any spice rub of your liking, I combined techniques from Alison Roman’s extremely simple method and Kenji Lopez’s dry brine instructions for the following…
For one 12-14 Ib turkey (last year’s bird was 24 Ibs, so I doubled this):
what you need
⅓ cup kosher salt
⅓ cup light brown sugar
2 tbsp coarsely ground black pepper
2 tbsp baking powder
leaves from ~4 sprigs of thyme, coarsely chopped
what you do
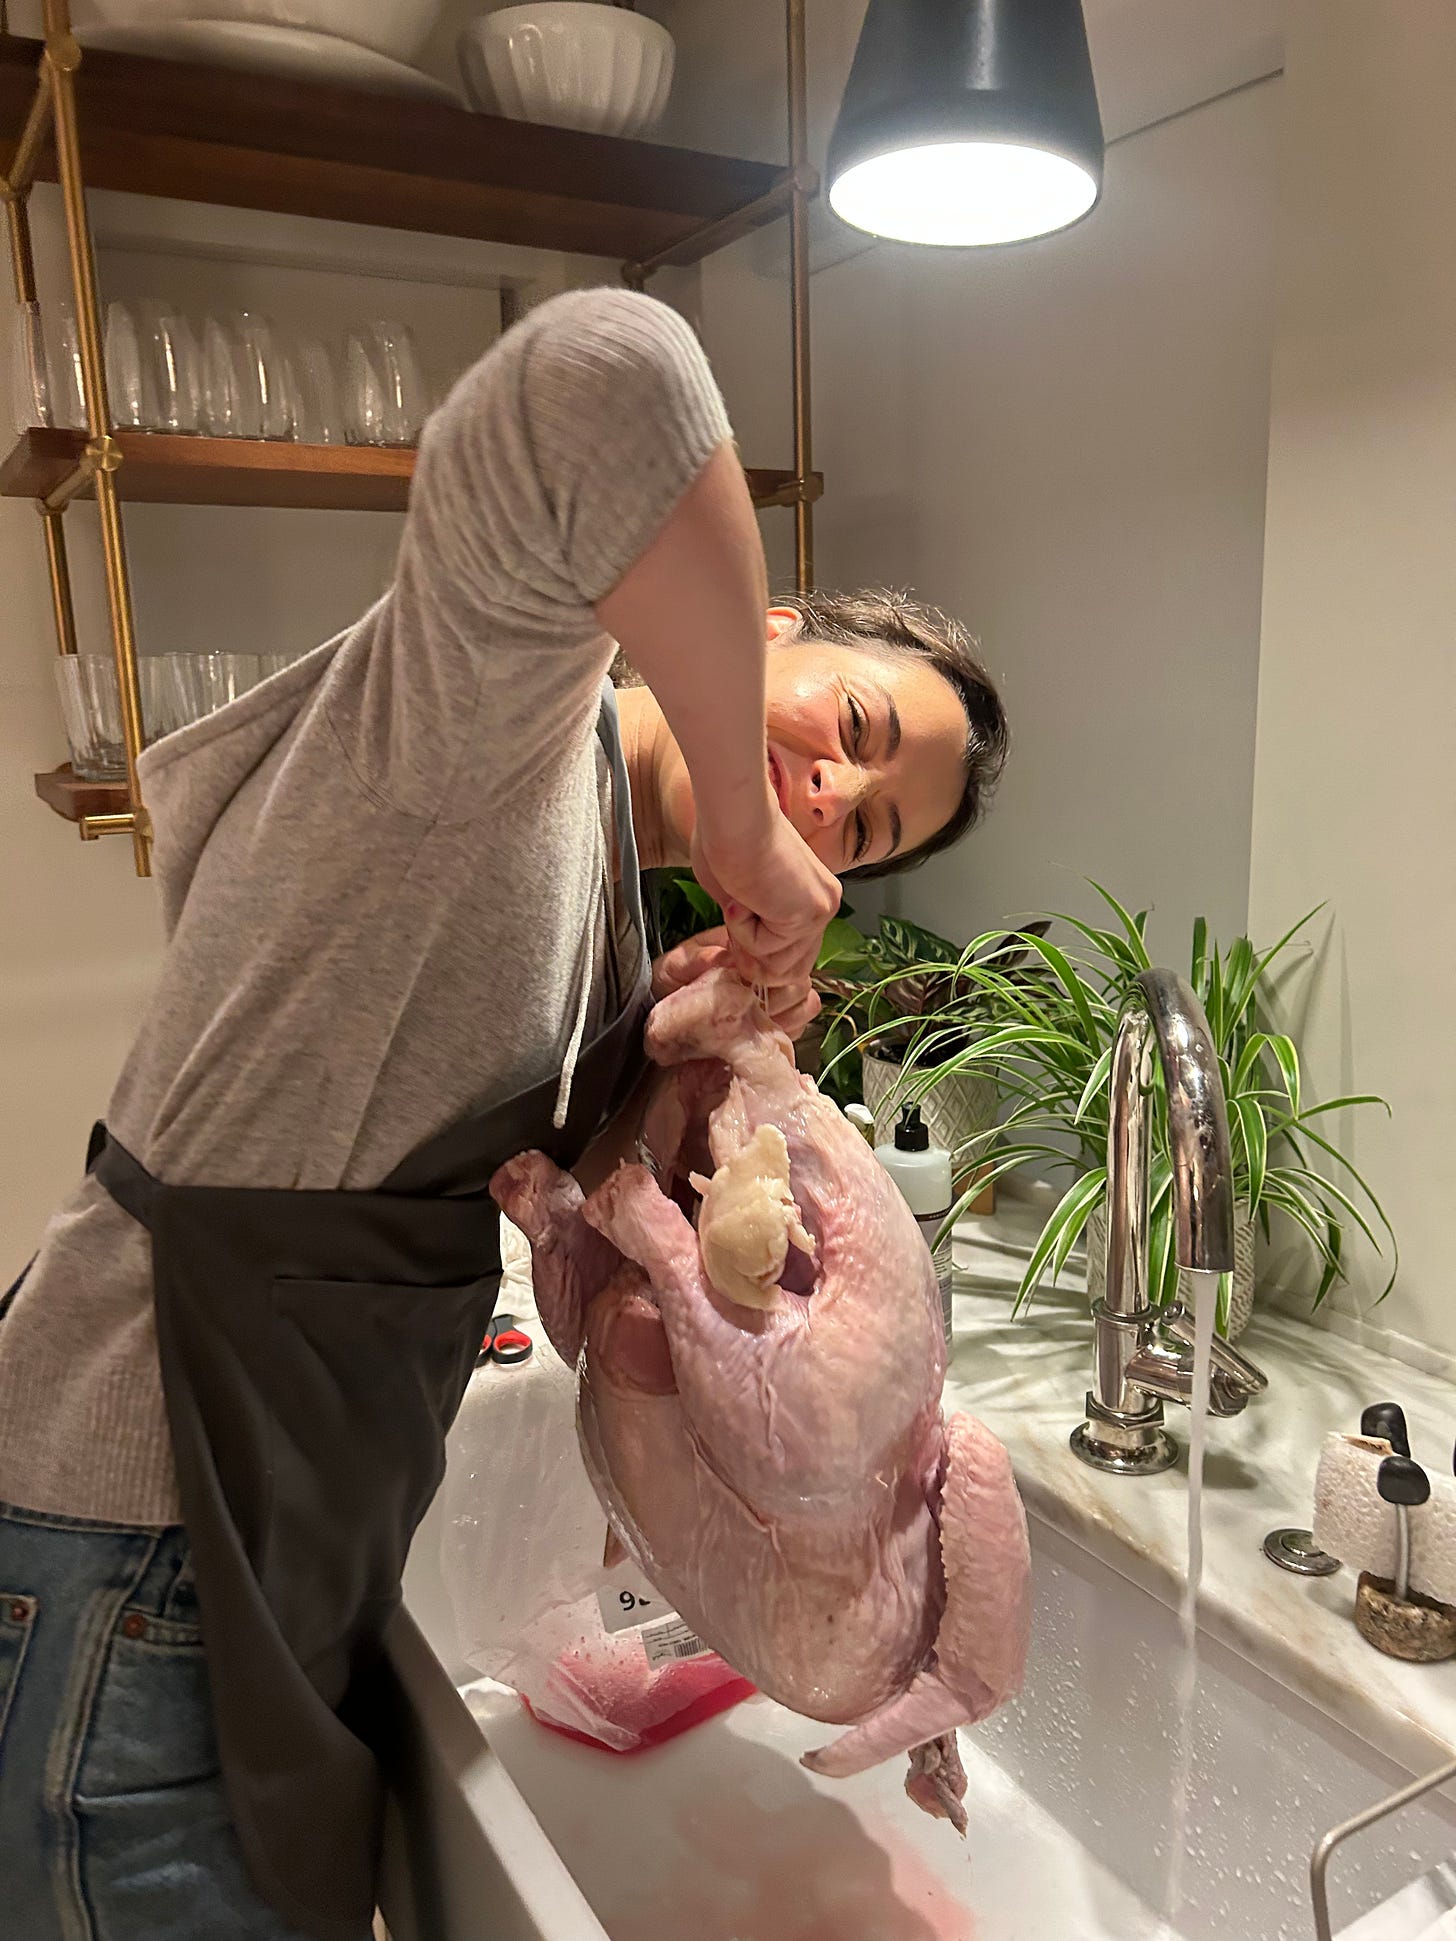
*assuming your turkey is already defrosted.* The morning before you plan to cook your turkey, remove it from all packaging (taking care to remove the bagged giblets from the cavity) and pat dry using a paper towel. Place the turkey on a baking sheet lined with a wire rack and sprinkle all over with the salt mixture, making sure to evenly distribute the seasoning on all sides, inside the cavity and in all nooks and crannies. Place in the fridge, uncovered, for 24 hours (ideally) until ready to cook the following day.
If you have leftover seasoning, you can mix it with a few sticks of butter for a no-waste compound butter which we will use tomorrow to finish our turkey before it goes into the oven.
Have your roasting game plan
Turkey timetables
We need to do some math to figure out what time you need to get your bird in the oven.
As a general rule of thumb, assume you need to roast your bird for 13 mins per pound of unstuffed turkey and 15 mins per pound of stuffed turkey.
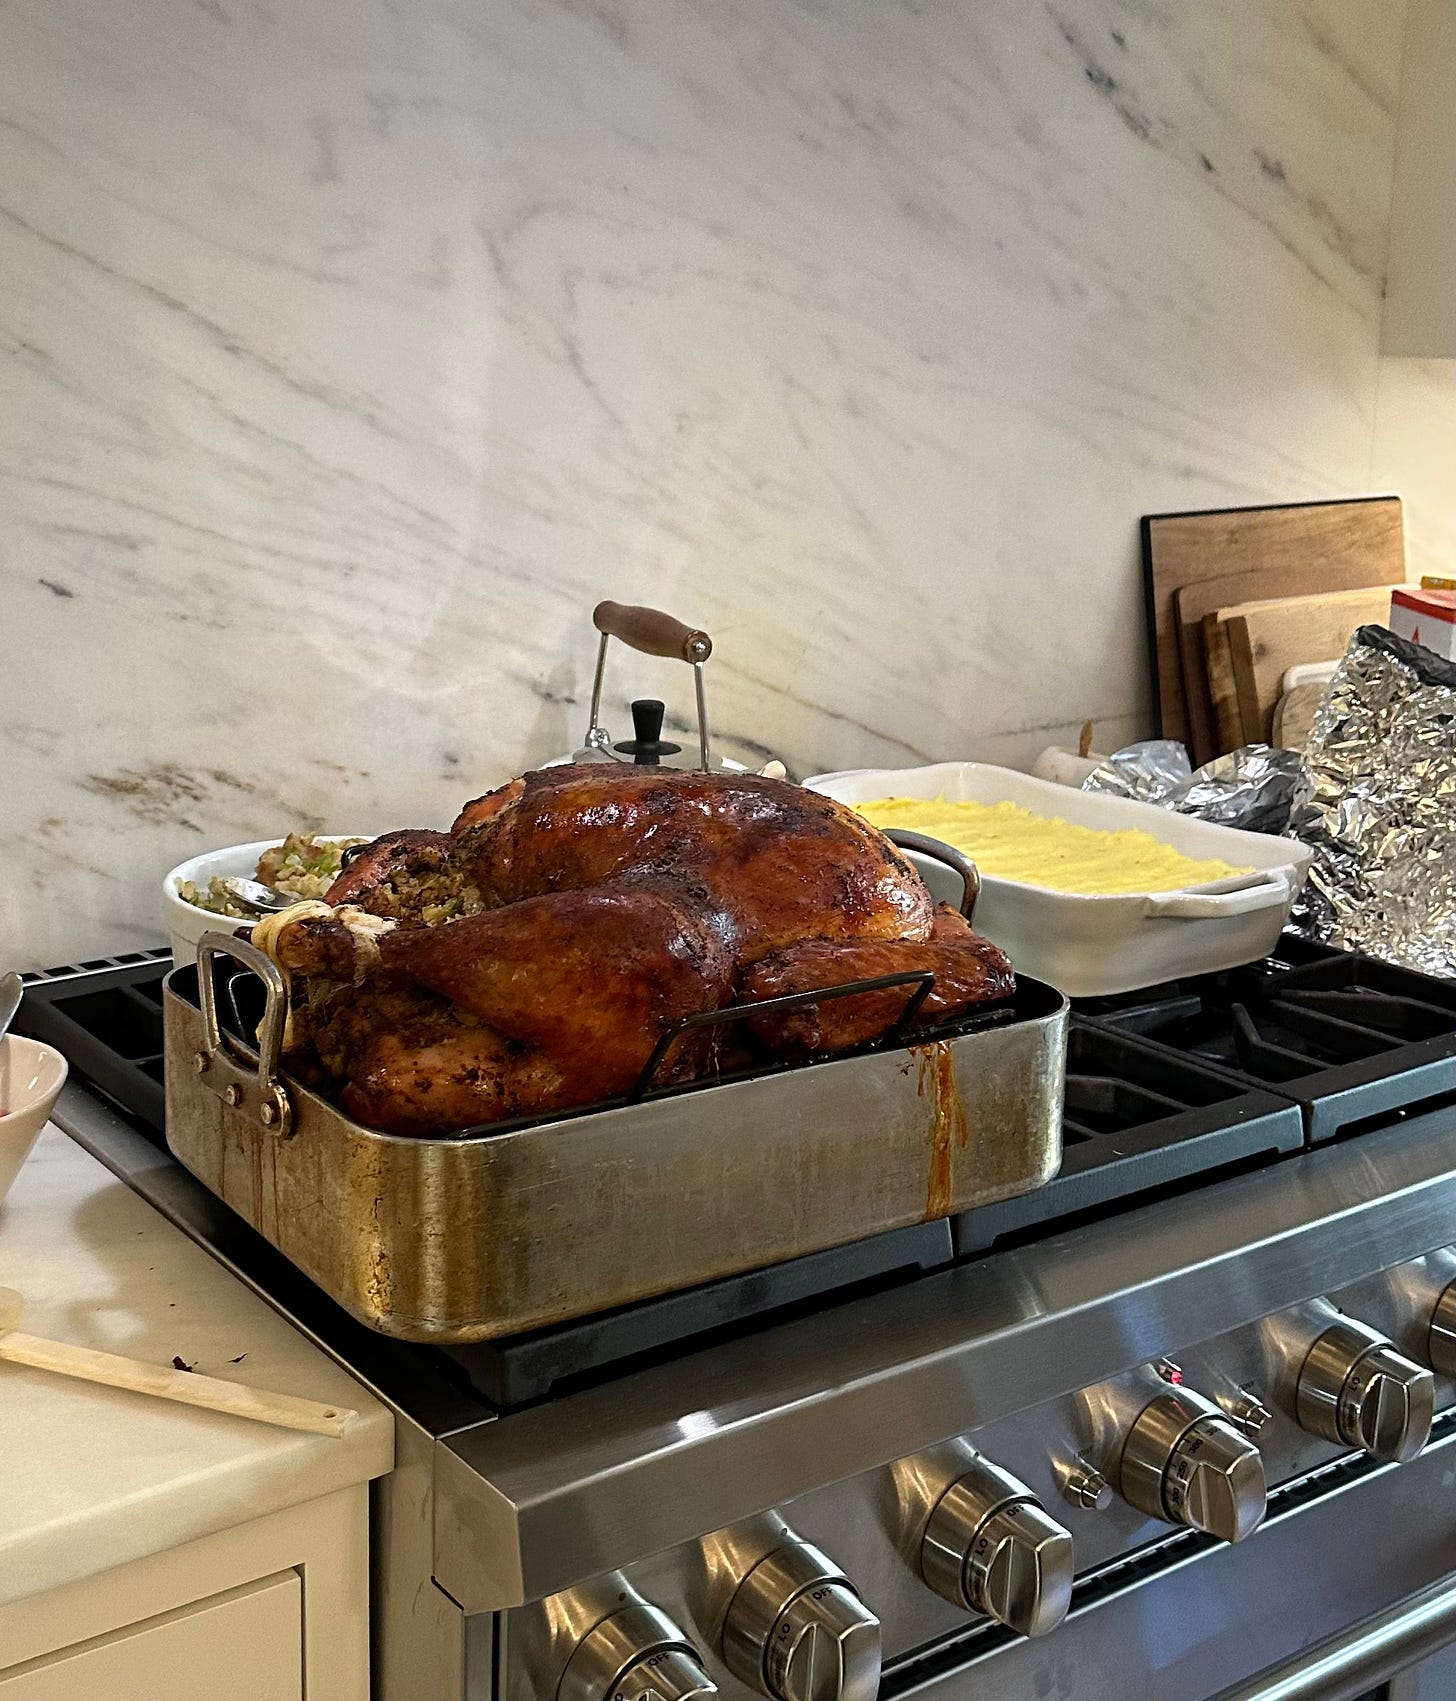
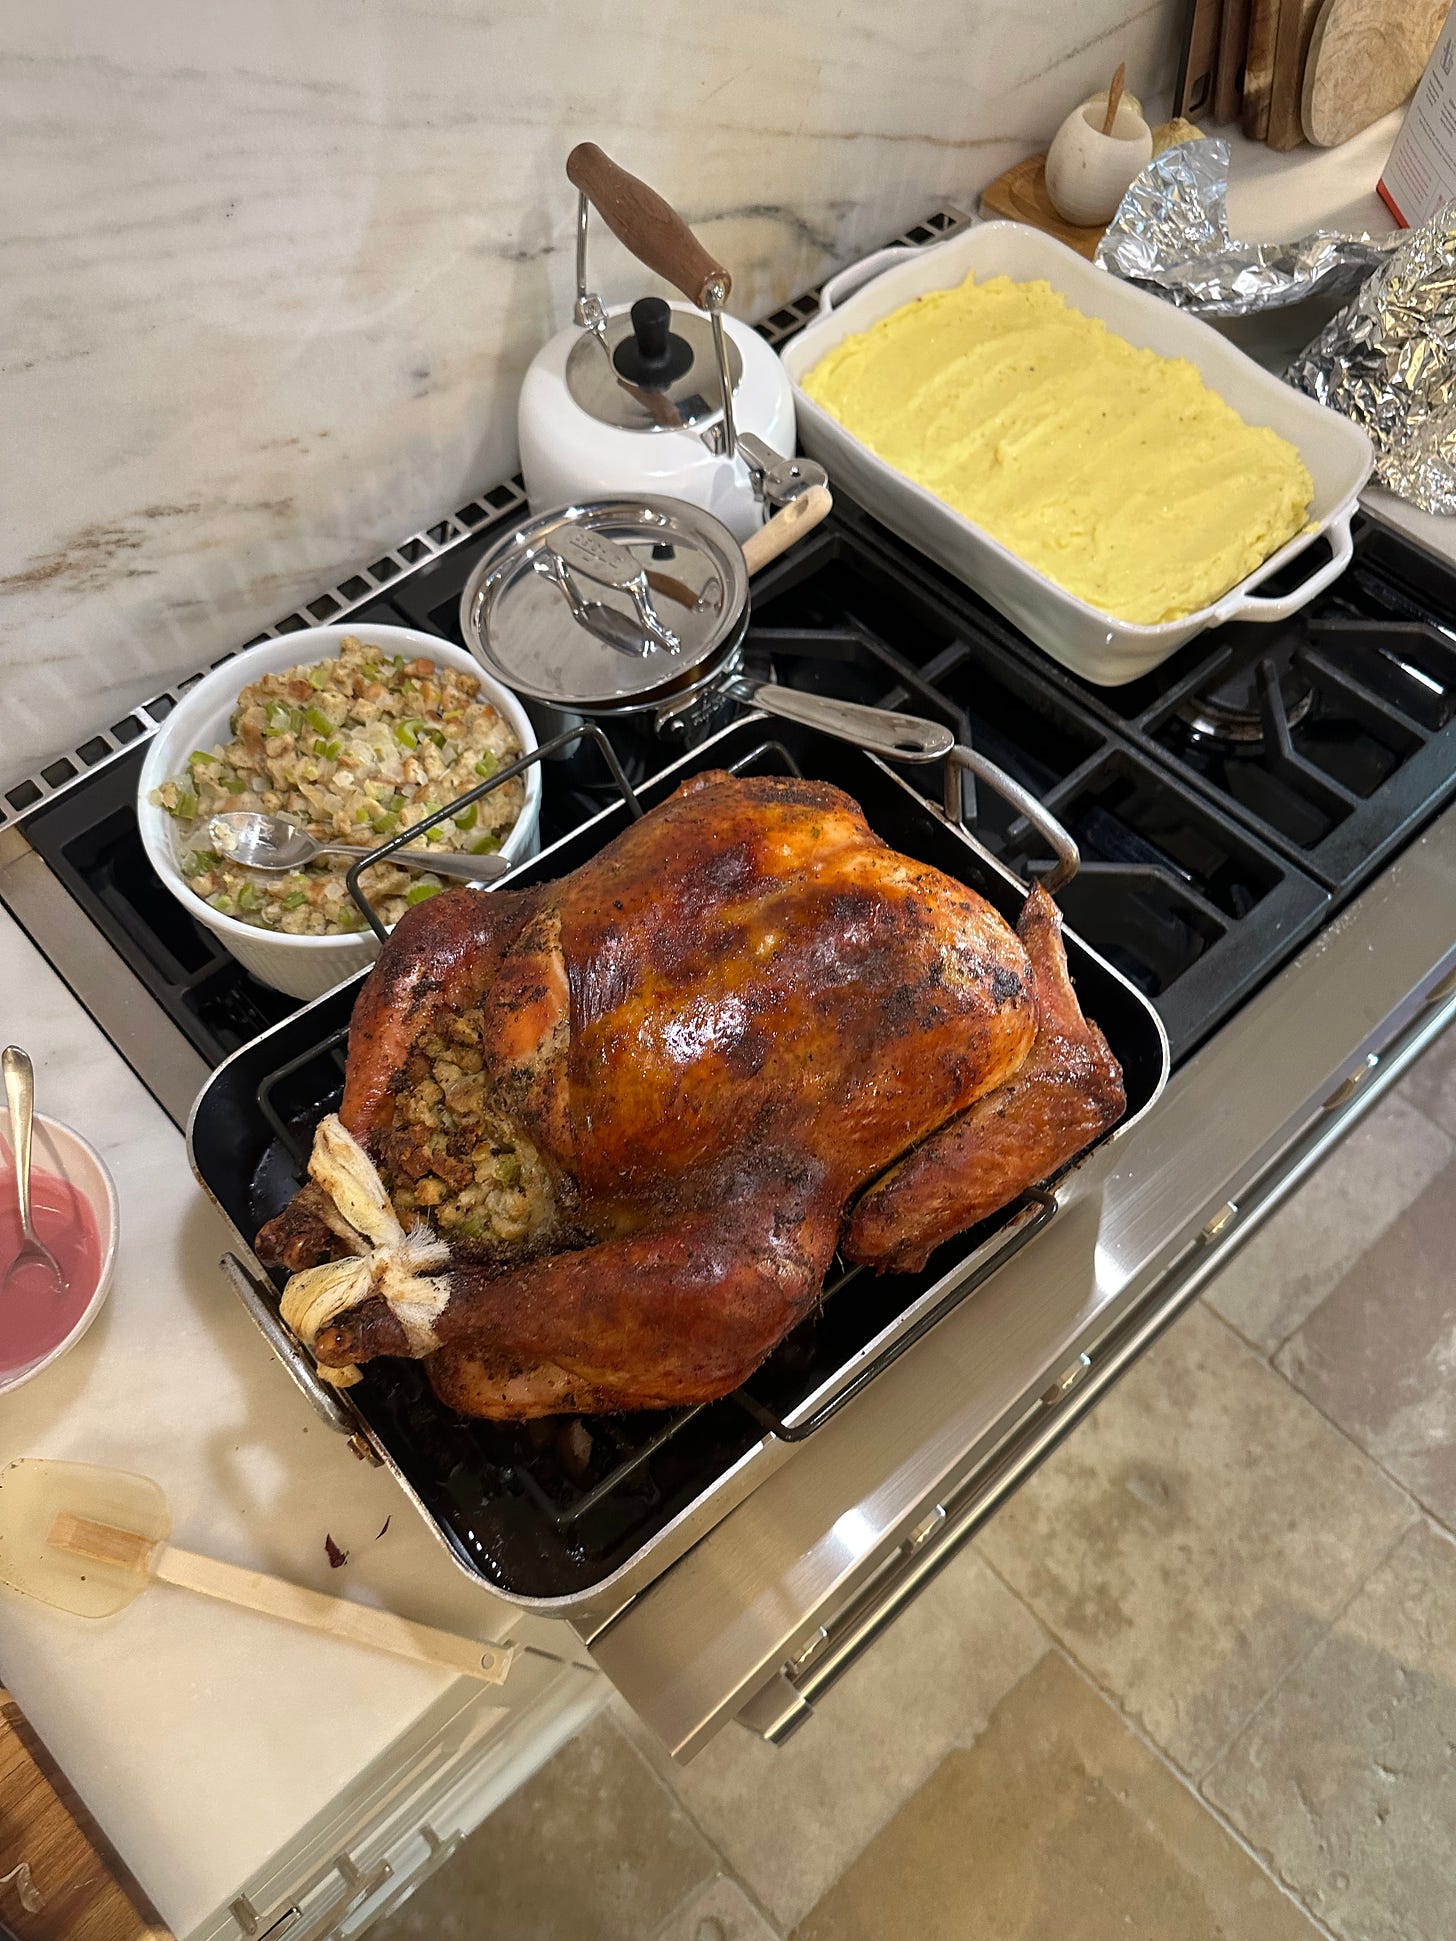
Last year, I had a 24 Ib stuffed turkey. Using the above metrics, the turkey should have taken approximately 6 hours to cook. (15 mins x 24 Ib= 360 mins/60 mins= 6 hours)
In practice, the turkey entered the oven at 10 am and was finished cooking at 3:30 pm. That means 5.5 hours of roasting. Pretty solid estimation if you ask me!
I would also factor in an extra hour of time on the back end, because once your turkey comes out of the oven you’ll want to let her rest for at least 30 mins before carving, which also takes some time!
Use these metrics to work backwards from the time you want to eat and figure out what time your turkey should go into the oven.
The roasting set-up
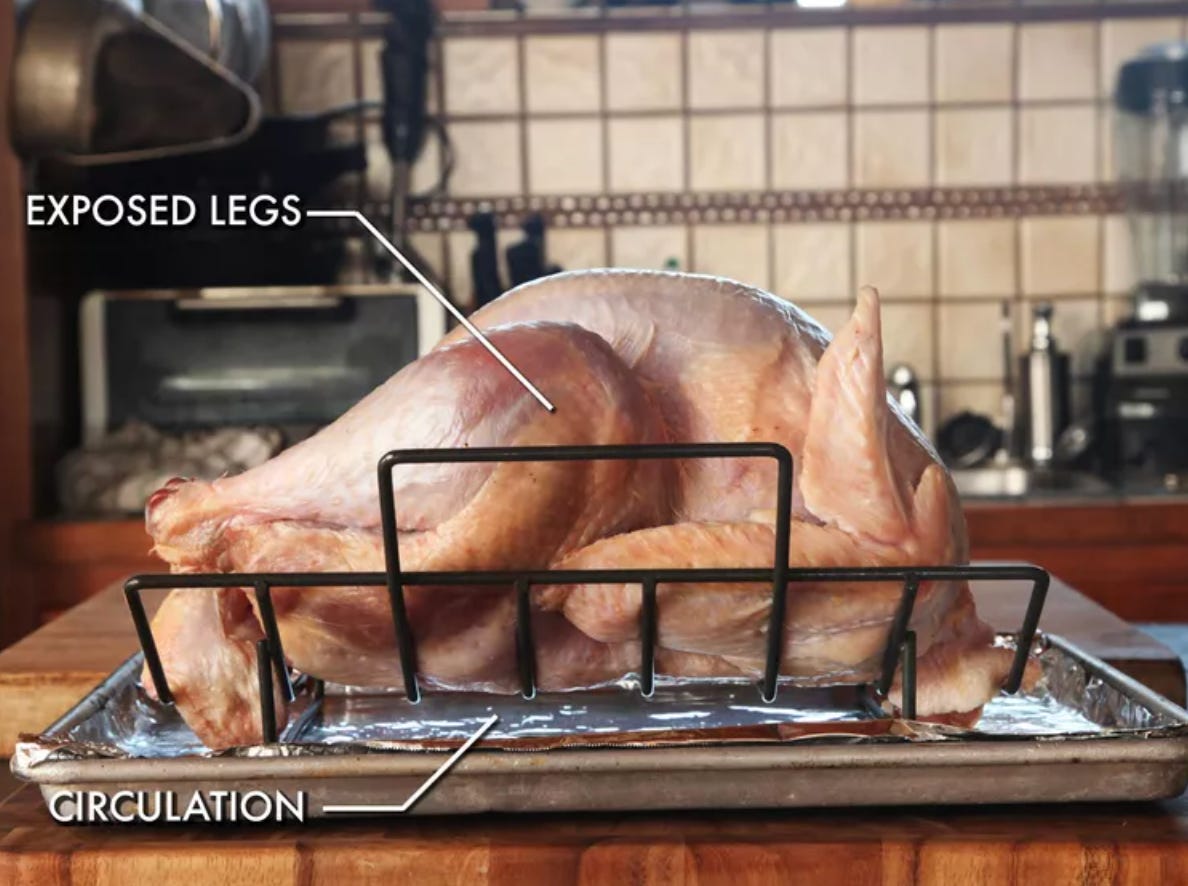
the enemy of crispy skin is cool air and poor air circulation. Our setup will help combat this. you’ll need a V-rack and a large roasting pan or rimmed baking sheet. last year I used a roasting pan and had no issues with full coverage browning, but this year I might switch to a baking sheet for maximum heat exposure and air circulation.
As Kenji explains, “by using a V-rack set in a rimmed baking sheet, not only do you fully expose the legs, you also leave plenty of room for hot air to travel around the entire surface of the turkey, maximizing the amount of crisp skin you can get out of it.”
check out my Turkey Time list of all the equipment you’ll need if you plan to follow this method (you may very well already have everything, even better!)
Maximizing flavor with compound butter
Last year, in addition to my overnight fridge dry spice brine, I also made a compound butter that I rubbed under and over the turkey skin. Some claim that buttering up your bird can prevent that crispy skin from forming, but personally I’ve never had any issues. You can use any compound butter, with any of your favorite spices or herbs. Last year I had leftover dry brine seasoning that I mixed with 2 sticks of unsalted butter for a super easy + quick recipe. If I had to make from scratch, here’s what I would do:
2 sticks unsalted butter, softened
2 tbsp finely chopped fresh sage
2 tbsp finely chopped fresh rosemary
1 tbsp garlic powder
1 tbsp sweet paprika
1 tbsp kosher salt
1 tbsp freshly ground black pepper
Like I said, can prep this the day before, but make sure it’s softened by the time you need it for your turkey.
To stuff or not to stuff
I grew up with stuffing made on the side, but last year I took my maiden voyage on actually stuffing the turkey with stuffing. I know, I know “but MADDY, that’s not SAFE, you could get SICK.” That’s what I always thought too! But what was I supposed to say to my boyfriend’s mother, who graciously invited me to their thanksgiving dinner, who said “this is what we do every year! it’s tradition.” Yeah, I wasn’t gonna go down that road…
But really, all kidding aside, there is a safe way to stuff your turkey. The problem lies in ensuring your stuffing reaches a safe final temperature (since it’s been absorbing turkey juices the whole time) without overcooking the meat. The solution lies in preheating the stuffing, giving it a jumpstart to the cooking process. And guess what… that’s actually exactly what we did last year. We prepared the hot stuffing just before we stuffed the turkey and it went into the oven. I was safe all along!!!!
If you choose not to stuff your turkey with stuffing, I recommend filling the cavity with aromatics like onions, shallots, leeks, garlic, maybe some quartered apples and lemons, and some herbs. You can’t go wrong!
THANKSGIVING DAY: Time to roast!
final set-up
An hour or so before your roast start time, pull your bird out of the fridge to take the chill off. There might be some liquid gathered at the bottom of the pan- that’s totally normal.
Adjust your oven racks so that your turkey will fit in the oven without hitting the ceiling (you might have to remove and/or lower the top two racks). Then preheat your oven to 500°F.
If you haven’t already, make your compound butter then go ahead and spread half of it under your turkey skin (working it under the breast skin and the thigh/leg skin) and the remaining half all over the outside.
Line your rimmed baking sheet with tin foil or secure your roasting pan, then place the v-rack on top, and your turkey nestled in the v-rack, breast side up.
If you’re stuffing your bird, prepare stuffing according to the package instructions (homemade is great but tbh I stand Pepperidge farm). Pack the hot stuffing into the cavity of your turkey, making sure you really get in there to fill her up all the way. Seal the cavity with half an apple or pear, and then tie back the legs with butcher twine. I like to start off tenting the turkey with tin foil so it doesn’t brown too quickly and then remove halfway through cooking.
into the oven
Alright, we are ready to go! Transfer your turkey to the oven, immediately close the door and reduce oven temperature to 350°F. You’ve done the math so you should have an estimate of how long the turkey will need to roast. Cook until turkey is golden brown and deepest part of the breast registers 150°F on an instant-read thermometer and legs register at least 165°F, anywhere from 3-6 hours total. (remember the temp will continue to climb 5-10°F from carry over cooking!)
Even with your time estimate, I recommend checking your turkey after 2 hours and after that every ~45 mins. At the halfway point, I like to remove the tin foil to allow the turkey to really brown (you can always return the tin foil is she starts to get too dark). If the skin looks like it’s not browning fast enough, turn on convection or increase oven temperature by 50°F.
When your turkey is cooked, remove from oven and let her rest for at least 30 minutes before carving.
Obviously we need gravy
Now I prefer a gravy recipe that doesn’t rely on pan drippings (inconsistent yields) and instead utilizes the turkey neck and giblets. I completely winged it (no pun intended) last year, but recommend the techniques from this recipe.
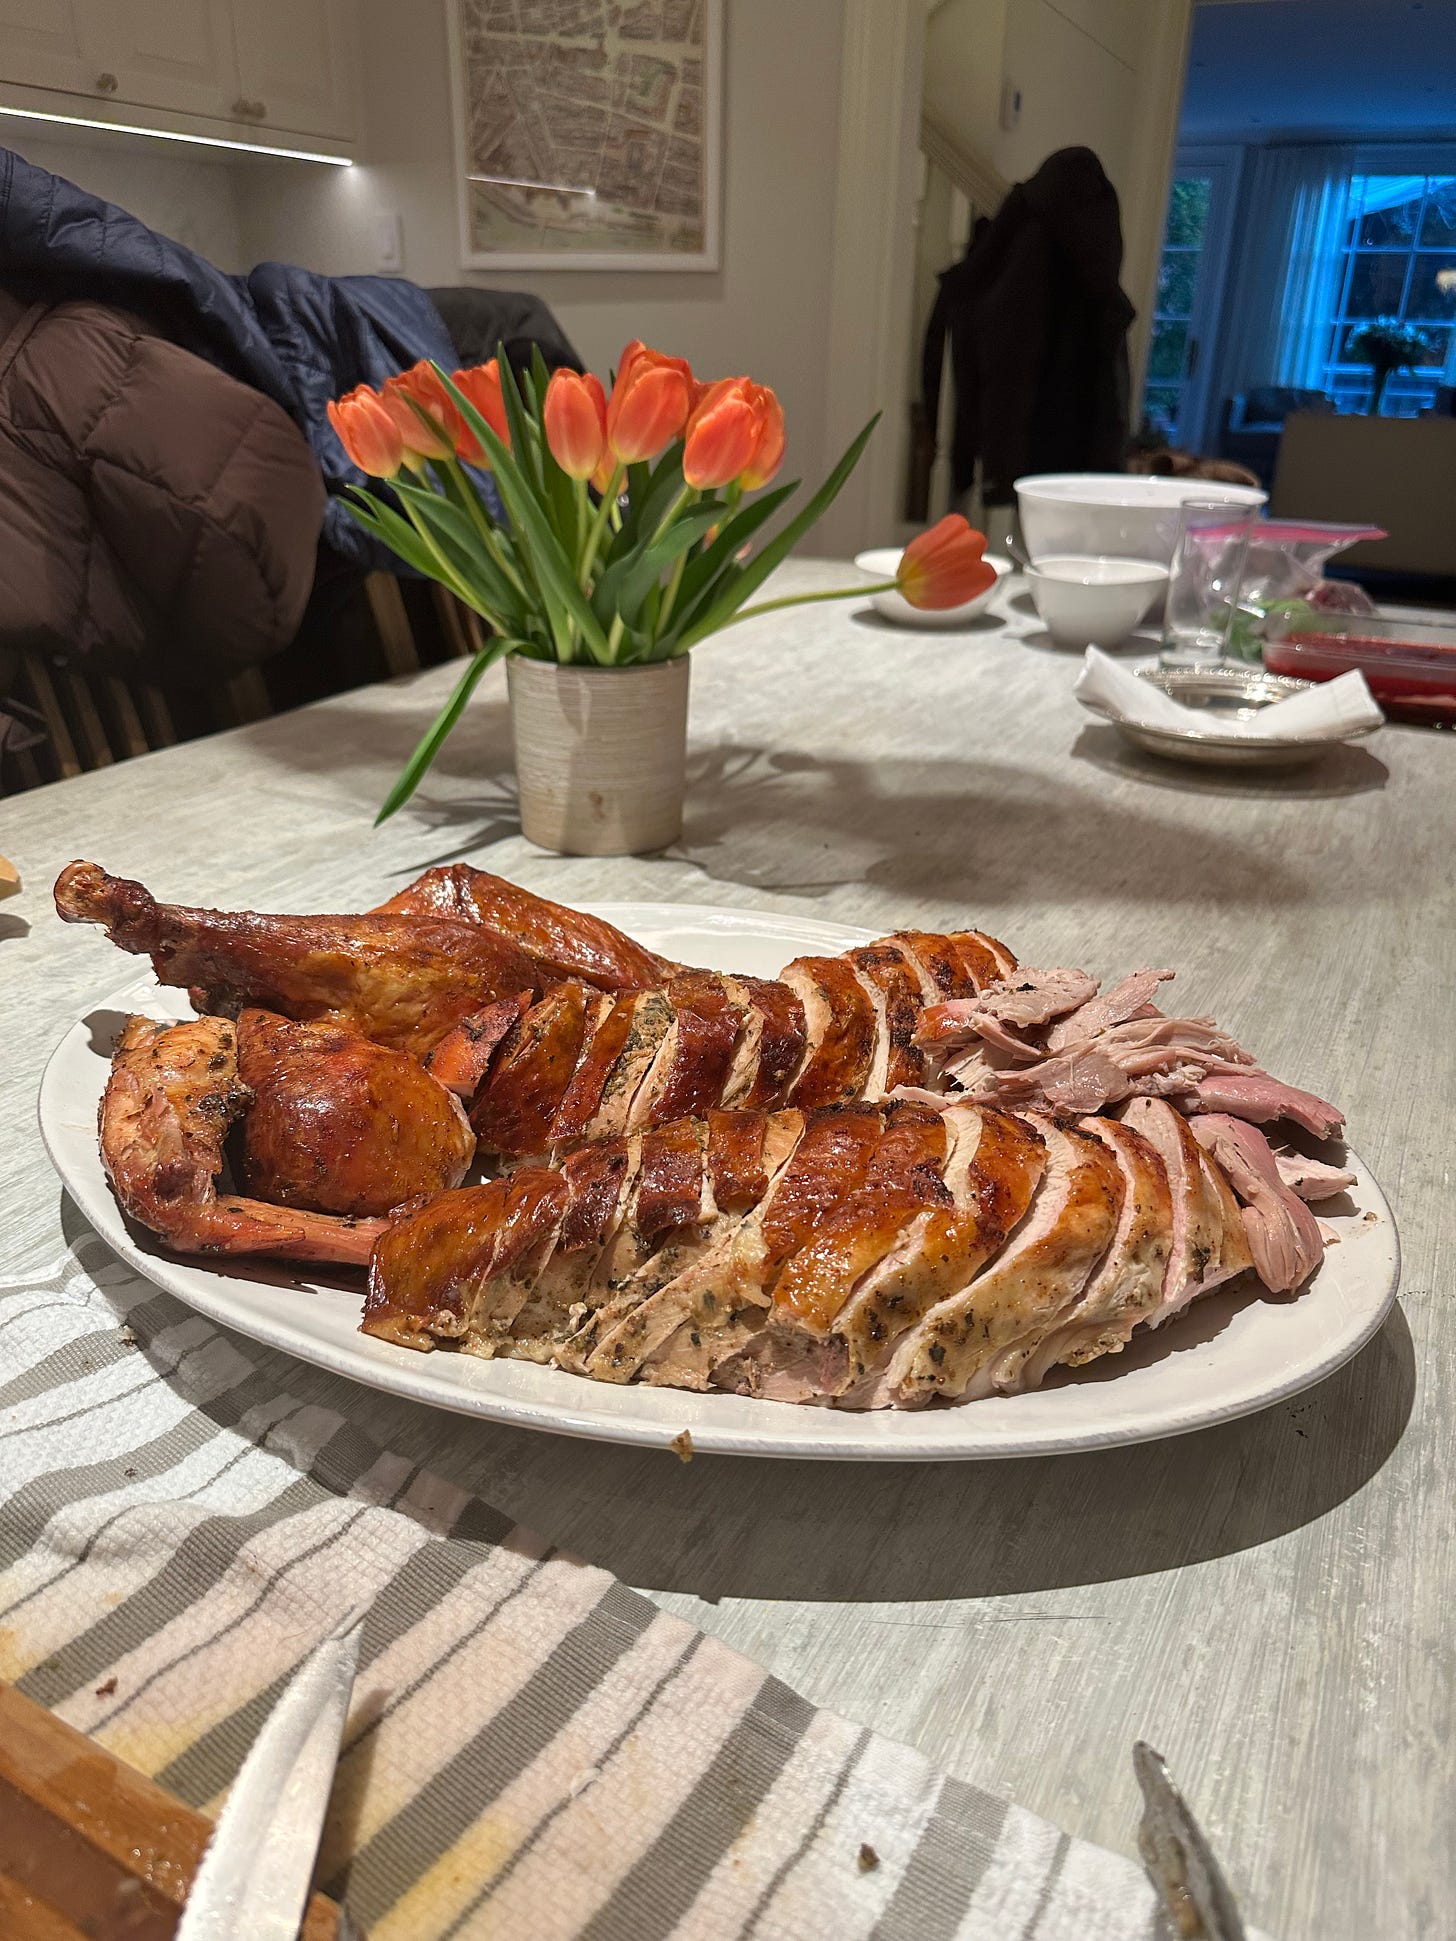
Time to carve and plate
This is where I really got to show off my culinary school fabrication skills, and I’m not gonna lie, it made me feel like a bad-ass. Maybe it’s because growing up it was always either my dad or one of his six brothers tasked with the job and seemed so intimidating. No longer!
Even if you’ve never done it before, you too can be the bad-ass that carves the turkey. I like this written guide with pictures and also recommend watching this video tutorial in full (or maybe use it as a little refresher!)
Check out my Instagram for my lastest post on all things Turkey. Leave a comment with your thoughts, best turkey tips and tricks, or questions :) I believe in you. Happy turkey making :)
Sources:
https://www.seriouseats.com/quick-and-dirty-guide-to-brining-turkey-chicken-thanksgiving
https://www.alisoneroman.com/recipes/dry-brined-turkey-with-sheet-pan-gravy
https://www.seriouseats.com/the-best-simple-roast-turkey-gravy-recipe
https://www.thekitchn.com/turkey-carving-for-beginners-251014#post-recipe-13559
https://www.seriouseats.com/how-to-take-the-temperature-of-your-turkey-video


Wow what a super method to follow! Easy to read, clear instructions that show you have thought of everything. Thku
Thanks for all that great info and the clear directions. I’m looking forward to trying your turkey recipe this year (minus stuffing the bird because that’s our family tradition, too). Have a Happy Thanksgiving, Maddy.